
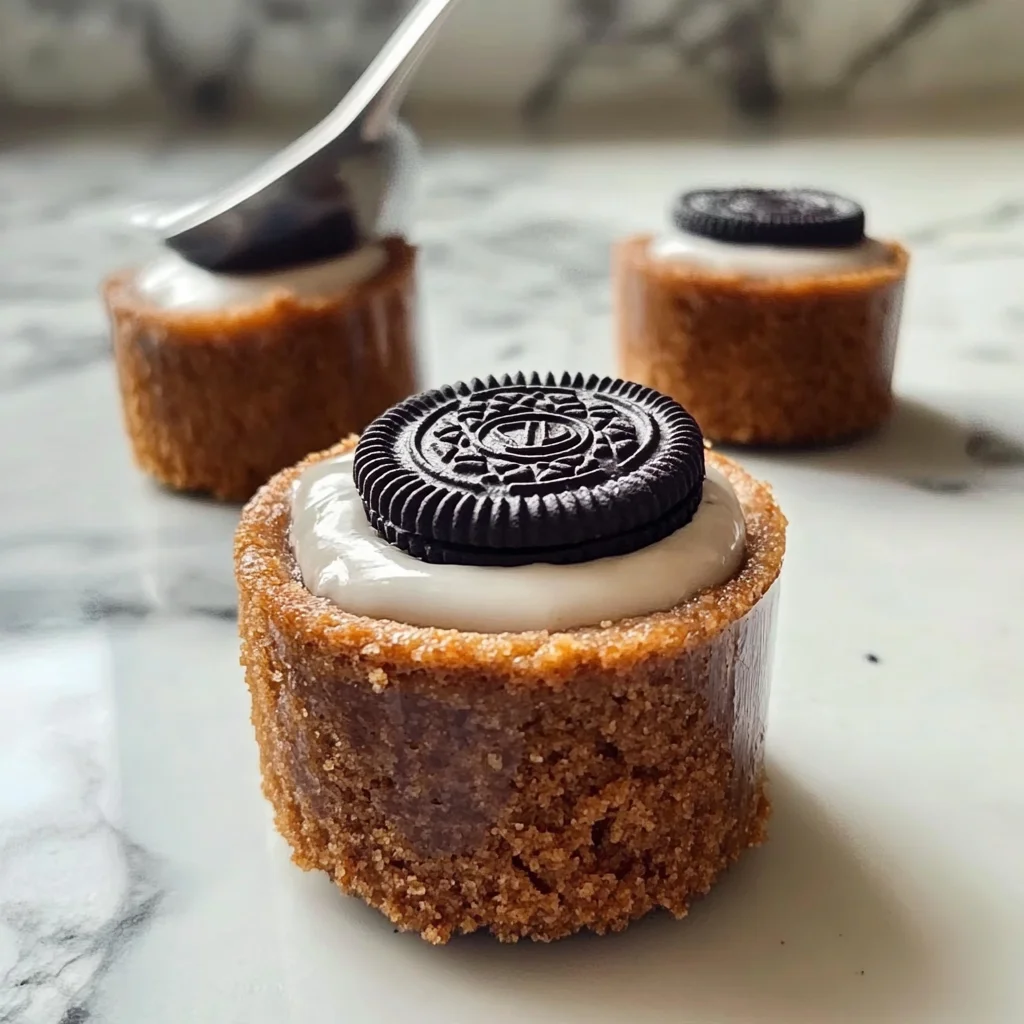
There’s something incredibly nostalgic about cheesecake, isn’t there? It brings back memories of family gatherings, celebrations, and those cozy nights when all you want is a little something sweet to enjoy. Today, I’m excited to share a recipe for No-Bake Mini Oreo Cheesecake Cups that is not only easy but also a delightful treat that will have everyone reaching for seconds!
Why You’ll Love No-Bake Mini Oreo Cheesecake Cups
- Fast: You can whip these up in no time, making them perfect for last-minute gatherings.
- Easy: This recipe requires no baking, so even beginner cooks can master it!
- Giftable: These cute little cups make for a perfect gift, whether it’s for a friend’s birthday or a thoughtful “just because” treat.
- Crowd-pleasing: With the rich flavor of cream cheese and the beloved crunch of Oreos, these cups are sure to be a hit with everyone!
Ingredients
- 1 package (15.35 oz) Oreo cookies – This iconic cookie is the star of the show!
- 1/4 cup unsalted butter, melted – Helps bind the crust together to create a delicious base.
- 2 (8 oz) packages cream cheese, softened – The creamy, rich filling that makes cheesecake so delightful.
- 1/2 cup granulated sugar – Adds just the right amount of sweetness.
- 1 teaspoon vanilla extract – A dash of vanilla enhances the flavors beautifully.
- 2 cups whipped cream – Lightens up the filling and adds a fluffy texture.
- Additional Oreo cookies for topping – Because you can never have too much Oreo!
How to Make No-Bake Mini Oreo Cheesecake Cups
- Start by crushing the Oreo cookies in a food processor until fine crumbs form. Remember to reserve 1/4 cup of the crumbs for topping later.
- In a medium bowl, combine the crushed Oreo cookies with the melted butter. Mix until the crumbs are well coated; this will create a delicious crust.
- In a separate large bowl, beat the softened cream cheese, granulated sugar, and vanilla extract together until smooth and creamy. Don’t rush this step—making sure it’s well combined is key!
- Gently fold in the whipped cream until fully combined, being careful not to deflate the mixture. This step is crucial for that light, airy texture.
- Now, grab small cups or mason jars and layer the Oreo crumb mixture followed by the cream cheese mixture. Repeat the layers until the cups are filled, finishing with the cream cheese mixture on top.
- Sprinkle the reserved Oreo crumbs on top of each cheesecake cup for garnish. This adds a lovely finish!
- Refrigerate the cups for at least 4 hours or until set before serving. This waiting time is essential for the flavors to meld and the cheesecake to firm up.
Substitutions & Additions
If you want to get creative with your No-Bake Mini Oreo Cheesecake Cups, here are a few ideas:
- Use different cookie flavors: Try using peanut butter or mint Oreos for a fun twist!
- Swap out the cream cheese for mascarpone cheese for a slightly different flavor and texture.
- Add a layer of fruit preserves or fresh berries for a fruity contrast to the rich cheesecake.
Tips for Success
Here are some helpful tips to ensure your cheesecake cups turn out perfectly:
- Make sure your cream cheese is at room temperature; this will make it easier to blend and create a smooth filling.
- Be gentle when folding in the whipped cream to maintain that light texture.
- Prep these cups a day ahead of time for the best flavor and texture.
How to Store No-Bake Mini Oreo Cheesecake Cups
These delicious treats can be stored in an airtight container in the refrigerator for up to 5 days. Just make sure to keep them covered to maintain their freshness!
FAQs
- Can I freeze No-Bake Mini Oreo Cheesecake Cups? Yes, these can be frozen for up to 2 months. Just be sure to wrap them well and thaw in the fridge before serving.
- Can I use low-fat cream cheese? Absolutely! Just keep in mind that it may alter the texture slightly.
- How do I make these gluten-free? Simply use gluten-free Oreo cookies for the crust!
Making No-Bake Mini Oreo Cheesecake Cups is a fantastic way to create a dessert that everyone loves without spending hours in the kitchen. For more delicious recipes, check out easy dessert ideas or comfort food recipes for treats you will love!
Don’t forget to follow our Pinterest account for more sweet inspiration!
No-Bake Mini Oreo Cheesecake Cups
Equipment
- food processor
- medium bowl
- Large bowl
- Small Cups or Mason Jars
Ingredients
For the Crust
- 1 package Oreo cookies 15.35 oz
- 1/4 cup unsalted butter melted
For the Filling
- 2 packages cream cheese softened, 8 oz each
- 1/2 cup granulated sugar
- 1 teaspoon vanilla extract
- 2 cups whipped cream
For Topping
- Additional Oreo cookies for topping
Instructions
- Step 1: Crush the Oreo cookies in a food processor until fine crumbs form. Reserve 1/4 cup of the crumbs for topping.
- Step 2: In a medium bowl, combine the crushed Oreo cookies with the melted butter. Mix until the crumbs are well coated.
- Step 3: In a separate large bowl, beat the softened cream cheese, granulated sugar, and vanilla extract together until smooth and creamy.
- Step 4: Gently fold in the whipped cream until fully combined, being careful not to deflate the mixture.
- Step 5: In small cups or mason jars, layer the Oreo crumb mixture followed by the cream cheese mixture. Repeat the layers until the cups are filled, finishing with the cream cheese mixture on top.
- Step 6: Sprinkle the reserved Oreo crumbs on top of each cheesecake cup for garnish.
- Step 7: Refrigerate the cups for at least 4 hours or until set before serving. Enjoy!