
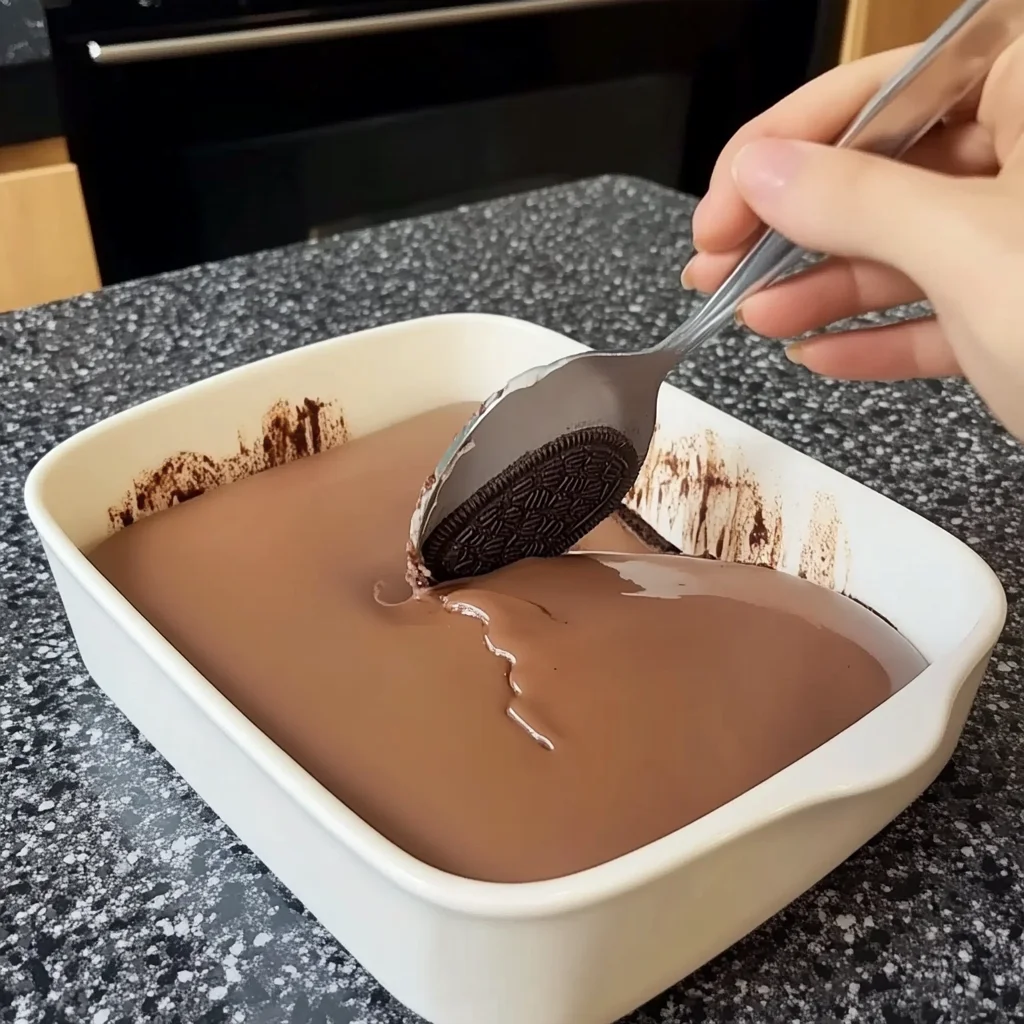
There’s something truly special about desserts that remind us of our childhood. The sweet crunch of Oreo biscuits dipped in creamy goodness instantly transports me back to carefree days filled with laughter and tasty treats. Today, I’m excited to share with you a quick and easy recipe for a No-Bake Oreo Biscuit Cake that will surely become a favorite in your home. This delightful dessert is not only simple to make but also perfect for any occasion!
Why You’ll Love No-Bake Oreo Biscuit Cake
- Fast: You can whip this up in under 30 minutes, perfect for those last-minute cravings.
- Easy: With just a few simple steps, even beginner cooks can master this delicious treat.
- Giftable: This cake travels well, making it a great option for potlucks or as a thoughtful gift.
- Crowd-pleasing: It’s hard to resist this creamy, chocolatey delight, even for those who aren’t big dessert fans!
Ingredients
- 2 packs of Oreo biscuits – These will be the star of your cake!
- 1 cup of milk – For dipping the Oreos to soften them up.
- 1 cup of whipped cream – This adds lightness and fluffiness to your cake.
- 1/2 cup of cream cheese – For that rich and creamy texture.
- 1/4 cup of powdered sugar – To sweeten up the cream cheese mixture.
- 1 teaspoon of vanilla extract – For a lovely hint of flavor.
- Chocolate shavings or crushed Oreos for garnish (optional) – Because who doesn’t love a pretty finish?
How to Make No-Bake Oreo Biscuit Cake
- Start by crushing the Oreo biscuits into small pieces. You can use a food processor for a quick job, or if you prefer a bit of exercise, place them in a zip-lock bag and crush them with a rolling pin.
- In a bowl, mix the cream cheese, powdered sugar, and vanilla extract until you get a smooth and creamy consistency.
- In a separate bowl, whip the cream until it forms stiff peaks. This step is crucial for that airy texture we all love!
- Gently fold the whipped cream into the cream cheese mixture until everything is well combined. Take your time here; you want to keep that fluffiness.
- Now, dip each crushed Oreo biscuit into the milk for just a few seconds to soften them slightly. Don’t let them soak too long!
- Layer the dipped Oreos in a serving dish, covering the bottom.
- Spread a layer of the cream mixture over the Oreo biscuits.
- Repeat the process, alternating layers of dipped Oreos and cream mixture until all ingredients are used. Make sure to finish with a lovely cream layer on top.
- Cover the dish and refrigerate the cake for at least 4 hours, or until set. This step is so important for the flavors to meld together.
- Before serving, feel free to garnish with chocolate shavings or crushed Oreos for an extra touch. Then, cut into slices and enjoy your No-Bake Oreo Biscuit Cake!
Substitutions & Additions
If you’re feeling adventurous, there are plenty of ways to tweak this recipe. Here are a few ideas:
- Swap out the Oreo biscuits for your favorite cookies, like chocolate chip or graham crackers.
- For a richer flavor, consider adding a tablespoon of cocoa powder to the cream mixture.
- Add some chopped nuts or berries between the layers for a little extra texture and flavor.
Tips for Success
To ensure your No-Bake Oreo Biscuit Cake turns out perfectly, keep these tips in mind:
- Be careful not to overwhip your cream; it should be fluffy but still smooth.
- Make sure the cream cheese is at room temperature for easier mixing.
- If you’re making this ahead of time, it can last in the fridge for a couple of days, but it’s best enjoyed fresh!
How to Store No-Bake Oreo Biscuit Cake
Store any leftovers in an airtight container in the refrigerator. This cake will stay fresh for about 3-4 days, but I doubt it will last that long! The flavors only get better as it sits, so don’t hesitate to enjoy it over a few days.
FAQs
Can I freeze the No-Bake Oreo Biscuit Cake?
Yes! You can freeze it for up to a month. Just make sure it’s well wrapped to prevent freezer burn.
What can I use instead of cream cheese?
You can substitute cream cheese with mascarpone cheese for a different flavor profile, or use a non-dairy cream cheese for a vegan option.
How can I make this cake more chocolatey?
You can add melted chocolate to the cream mixture to intensify the chocolate flavor!
For more delicious recipes, check out easy dessert ideas or quick treats that you will love!
Don’t forget to follow us on Pinterest for more delightful recipes and inspiration!
No-Bake Oreo Biscuit Cake
Equipment
- food processor
- Mixing bowls
- Whisk
- Serving Dish
Ingredients
Oreo Biscuit Cake Ingredients
- 2 packs Oreo biscuits These will be the star of your cake!
- 1 cup milk For dipping the Oreos to soften them up.
- 1 cup whipped cream This adds lightness and fluffiness to your cake.
- 1/2 cup cream cheese For that rich and creamy texture.
- 1/4 cup powdered sugar To sweeten up the cream cheese mixture.
- 1 teaspoon vanilla extract For a lovely hint of flavor.
Optional Garnish
- chocolate shavings or crushed Oreos for garnish (optional)
Instructions
- Step 1: Start by crushing the Oreo biscuits into small pieces. You can use a food processor for a quick job, or if you prefer a bit of exercise, place them in a zip-lock bag and crush them with a rolling pin.
- Step 2: In a bowl, mix the cream cheese, powdered sugar, and vanilla extract until you get a smooth and creamy consistency.
- Step 3: In a separate bowl, whip the cream until it forms stiff peaks. This step is crucial for that airy texture we all love!
- Step 4: Gently fold the whipped cream into the cream cheese mixture until everything is well combined. Take your time here; you want to keep that fluffiness.
- Step 5: Dip each crushed Oreo biscuit into the milk for just a few seconds to soften them slightly. Don’t let them soak too long!
- Step 6: Layer the dipped Oreos in a serving dish, covering the bottom.
- Step 7: Spread a layer of the cream mixture over the Oreo biscuits.
- Step 8: Repeat the process, alternating layers of dipped Oreos and cream mixture until all ingredients are used, finishing with the cream layer on top.
- Step 9: Cover the dish and refrigerate the cake for at least 4 hours, or until set. This step is so important for the flavors to meld together.
- Step 10: Before serving, feel free to garnish with chocolate shavings or crushed Oreos for an extra touch. Then, cut into slices and enjoy your No-Bake Oreo Biscuit Cake!