
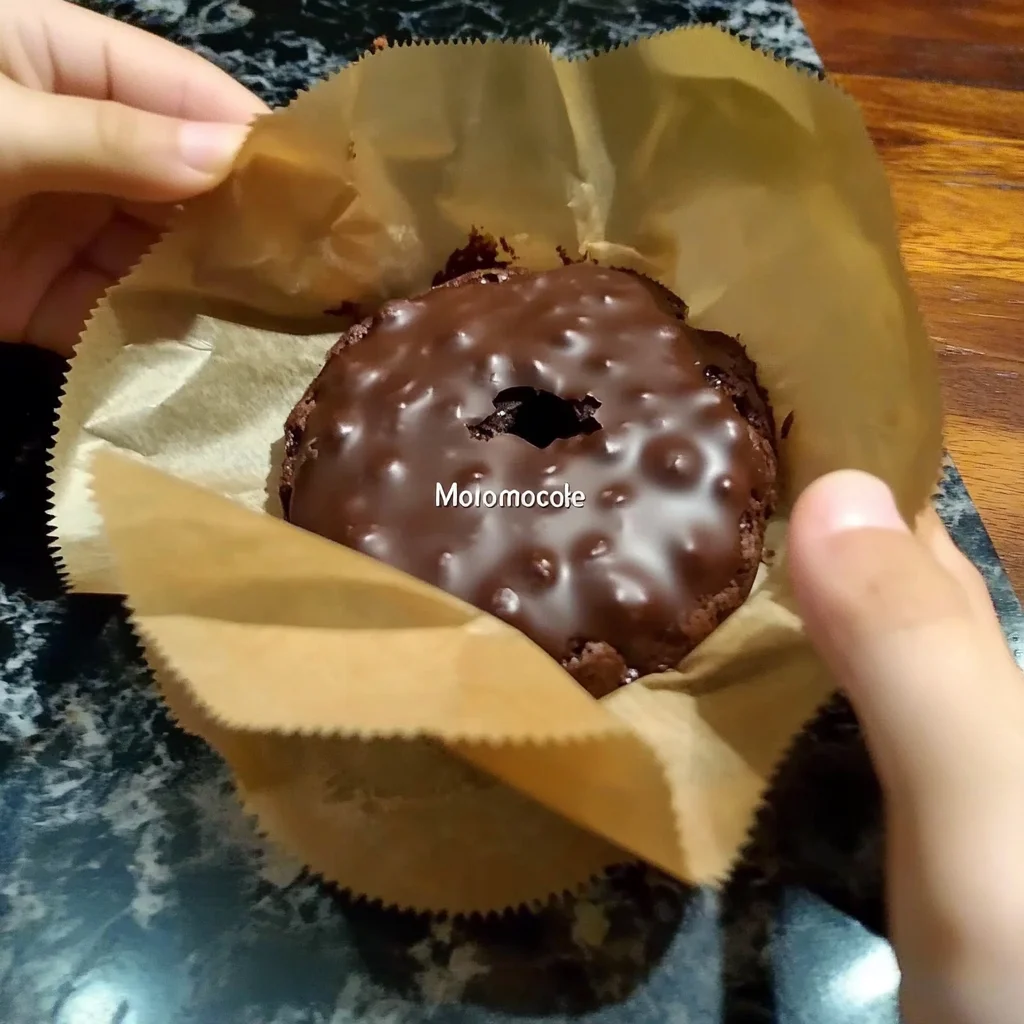
There’s something magical about a warm dessert that oozes rich chocolate when you take your first bite. Chocolate mochi lava cake brings back fond memories of cozy evenings spent with family and friends, where laughter and delicious flavors filled the air. This dessert is not only a treat for the senses but also incredibly easy to whip up, making it perfect for any occasion.
Why You’ll Love Chocolate Mochi Lava Cake
- Fast: You can have the main components prepped and in the oven in about 20 minutes.
- Easy: It’s a simple “brown and bake” method that even beginner cooks can master.
- Giftable: This is a sturdy dish that travels well, making it perfect for potlucks or as a “get well soon” meal.
- Crowd-pleasing: Even people who think they don’t like mochi usually fall in love with this chocolatey version!
Ingredients
- 1 cup glutinous rice flour: This is the star ingredient that gives the cake its unique chewy texture.
- 1/2 cup granulated sugar: Sweetness is key to balancing the rich chocolate flavor.
- 1/2 teaspoon baking powder: This helps the cake rise slightly while keeping that gooey center.
- 1/4 teaspoon salt: A pinch of salt enhances all the flavors beautifully.
- 1 cup water: This hydrates the dry ingredients to create a smooth batter.
- 1/2 cup semi-sweet chocolate chips: These will create that luscious molten center we all crave.
- 2 tablespoons unsalted butter: Adds richness and helps with the melting process.
- 1 teaspoon vanilla extract: A touch of vanilla gives the cake a warm, inviting flavor.
- Cornstarch (for dusting): Prevents sticking and ensures a perfect release from the muffin tin.
How to Make Chocolate Mochi Lava Cake
- Preheat the oven to 350°F (175°C). Grease a muffin tin and dust it with cornstarch to prevent sticking.
- In a large mixing bowl, combine glutinous rice flour, granulated sugar, baking powder, and salt. Mix well.
- Gradually add water to the dry ingredients, whisking until the mixture is smooth and free of lumps.
- In a microwave-safe bowl, combine semi-sweet chocolate chips and unsalted butter. Microwave in 30-second intervals, stirring in between, until melted and smooth. This is where the magic happens!
- Stir the melted chocolate mixture and vanilla extract into the mochi batter until well combined.
- Pour the batter evenly into the prepared muffin tin, filling each cup about 2/3 full.
- Bake in the preheated oven for 15-18 minutes, or until the tops are set but the centers are still slightly soft. Keep an eye on them, as you want that gooey center!
- Remove from the oven and let cool for a few minutes before carefully inverting the cakes onto a serving plate.
- Serve warm, allowing the chocolate center to flow out when cut into. Enjoy!
Substitutions & Additions
If you want to get creative, here are some fun swaps and additions:
- Try using dark chocolate chips for a richer flavor.
- Add a pinch of espresso powder to enhance the chocolate taste.
- Mix in some chopped nuts or dried fruits for added texture.
- For a twist, experiment with different extracts like almond or orange!
Tips for Success
To ensure your chocolate mochi lava cake turns out perfectly every time, keep these tips in mind:
- Be careful not to overbake; the center should be soft and gooey.
- Make sure to whisk the batter until smooth to avoid lumps.
- You can prepare the batter ahead of time and bake it just before serving for a warm treat.
How to Store Chocolate Mochi Lava Cake
If you have any leftovers (which is rare!), store them in an airtight container in the refrigerator for up to 3 days. To reheat, just pop them in the microwave for a few seconds until warm. You want that melty center back!
FAQs
- Can I use regular rice flour instead of glutinous rice flour? No, glutinous rice flour is essential for that chewy texture.
- What if I don’t have a muffin tin? You can use ramekins or any oven-safe dish, just adjust the baking time accordingly.
- Can I freeze these cakes? Yes, you can freeze them before baking. Just thaw and bake when you are ready to enjoy!
Now that you know how to make this delightful chocolate mochi lava cake, I invite you to gather your loved ones and share this warm dessert that’s sure to impress. For more delicious recipes, check out easy baking ideas or sweet treats you will love!
Don’t forget to follow us on Pinterest for more delicious inspiration!
Chocolate Mochi Lava Cake
Equipment
- Muffin tin
- Mixing bowl
- Microwave-safe Bowl
Ingredients
For the Chocolate Mochi Lava Cake
- 1 cup glutinous rice flour This is the star ingredient that gives the cake its unique chewy texture.
- 1/2 cup granulated sugar Sweetness is key to balancing the rich chocolate flavor.
- 1/2 teaspoon baking powder This helps the cake rise slightly while keeping that gooey center.
- 1/4 teaspoon salt A pinch of salt enhances all the flavors beautifully.
- 1 cup water This hydrates the dry ingredients to create a smooth batter.
- 1/2 cup semi-sweet chocolate chips These will create that luscious molten center we all crave.
- 2 tablespoons unsalted butter Adds richness and helps with the melting process.
- 1 teaspoon vanilla extract A touch of vanilla gives the cake a warm, inviting flavor.
For dusting
- Cornstarch
Instructions
- Step 1: Preheat the oven to 350°F (175°C). Grease a muffin tin and dust with cornstarch to prevent sticking.
- Step 2: In a large mixing bowl, combine glutinous rice flour, granulated sugar, baking powder, and salt. Mix well.
- Step 3: Gradually add water to the dry ingredients, whisking until the mixture is smooth and free of lumps.
- Step 4: In a microwave-safe bowl, combine semi-sweet chocolate chips and unsalted butter. Microwave in 30-second intervals, stirring in between, until melted and smooth.
- Step 5: Stir the melted chocolate mixture and vanilla extract into the mochi batter until well combined.
- Step 6: Pour the batter evenly into the prepared muffin tin, filling each cup about 2/3 full.
- Step 7: Bake in the preheated oven for 15-18 minutes, or until the tops are set but the centers are still slightly soft.
- Step 8: Remove from the oven and let cool for a few minutes before carefully inverting the cakes onto a serving plate.
- Step 9: Serve warm, allowing the chocolate center to flow out when cut into. Enjoy!