Diving into the world of homemade treats, there’s one delight that stands out for its simplicity, deliciousness, and the joy it brings to both makers and tasters alike: peanut butter balls. These little bites of heaven have carved a niche in the hearts of dessert lovers, offering a perfect blend of creamy peanut butter and rich chocolate. Whether you’re a seasoned baker or a kitchen newbie, this article promises to guide you through the art of making the best peanut butter balls you’ve ever tasted. From the basic ingredients to creative variations and troubleshooting tips, we’ve got you covered. So, let’s roll up our sleeves and embark on this sweet journey together!
Introduction to Peanut Butter Balls
Ah, peanut butter balls – the mere mention of these treats can make mouths water and hearts flutter. They’re not just desserts; they’re tiny globes of happiness, ready to burst with flavor at the slightest bite. But what makes them so special? Well, for starters, their simplicity. With just a handful of ingredients and no baking required, anyone can whip up a batch of these delectable treats. Plus, they’re incredibly versatile. Whether you’re craving something sweet and simple or looking to impress with gourmet-like flavors, peanut butter balls are your canvas, waiting for you to paint it with your culinary creativity.
But let’s not get ahead of ourselves. Before we dive into the nitty-gritty of making these treats, let’s talk about what you’ll need. At their core, peanut butter balls require just a few basic ingredients: creamy (or crunchy, if you’re feeling adventurous) peanut butter, powdered sugar for sweetness, butter for richness, a dash of vanilla for flavor, and, of course, chocolate for that irresistible coating. As for equipment, you’ll likely have everything you need right in your kitchen: mixing bowls, a baking sheet, parchment paper, and a microwave or double boiler for melting chocolate.
Now, you might be thinking, “That sounds easy enough, but what’s the catch?” Honestly, there isn’t one. The beauty of peanut butter balls lies in their simplicity. However, as with any culinary endeavor, there are tips and tricks to making them just right, which we’ll explore in the following sections. So, whether you’re a peanut butter aficionado or a chocolate connoisseur, get ready to embark on a delicious journey that promises to end in sweet satisfaction. Let’s get rolling!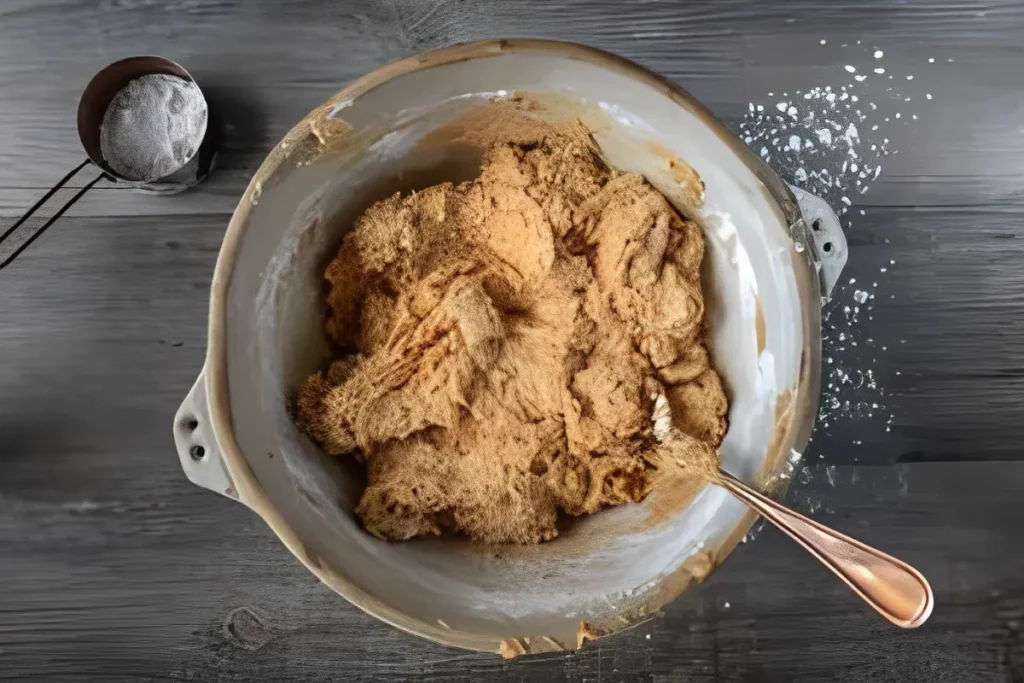
Ingredients and Equipment Needed
Before we dive into the magical process of transforming simple ingredients into mouth-watering peanut butter balls, let’s ensure we have everything we need. After all, a chef is only as good as their prep work, right? So, let’s get our ducks—or in this case, ingredients and equipment—in a row.
Essential Ingredients for Peanut Butter Balls
- Peanut Butter: The star of the show. Opt for creamy peanut butter for a smooth texture, but if you’re after a bit of crunch, feel free to use the crunchy variety. Just steer clear of natural peanut butter for this recipe; we need the consistency to be just right.
- Powdered Sugar: This not only sweetens the deal but also helps bind everything together, giving us that perfect texture.
- Butter: Unsalted butter works best, as it allows you to control the saltiness of your treats. Make sure it’s at room temperature so it blends seamlessly with the peanut butter.
- Vanilla Extract: A splash of vanilla adds depth to the flavor, making your peanut butter balls taste even more divine.
- Chocolate for Melting: Whether you’re a fan of dark, milk, or white chocolate, choose a good-quality chocolate for coating. Candy melts or Candiquik are great options for a smooth, glossy finish.
Equipment Checklist
- Mixing Bowls: For combining your ingredients. A good set of mixing bowls is a baker’s best friend.
- Baking Sheet: You’ll need this to line up your peanut butter balls before and after dipping them in chocolate.
- Parchment Paper: This prevents sticking and makes cleanup a breeze.
- Microwave or Double Boiler: Essential for melting chocolate to the perfect dipping consistency.
With your ingredients and equipment ready, you’re all set to start crafting those irresistible peanut butter balls. Remember, the quality of your ingredients can make a big difference in the final product. So, don’t skimp on the good stuff! Now, let’s move on to the exciting part: making peanut butter balls that will have everyone begging for the recipe. Stay tuned, as we’re about to roll into the heart of our culinary adventure.
Step-by-Step Recipe
Now that we’ve got our ingredients and equipment lined up, it’s time to dive into the heart of our culinary adventure. Making peanut butter balls is a breeze, and I’m here to guide you through each step. So, let’s get the ball rolling, shall we?
Preparing the Peanut Butter Mixture
- Mix It Up: In a large mixing bowl, cream together the peanut butter and room temperature butter until smooth. This is where the magic starts, folks!
- Sweeten the Deal: Gradually add the powdered sugar to the creamy mixture, stirring until well combined. The mixture should be thick enough to hold its shape but not so dry that it crumbles. A dash of vanilla extract goes in next, tying all the flavors together beautifully.
Shaping and Chilling
- Shape It: Scoop out teaspoon-sized amounts of the mixture and roll them between your palms to form balls. If the mixture sticks to your hands, a little dusting of powdered sugar can work wonders.
- Chill Out: Place the formed balls on a baking sheet lined with parchment paper. Pop them in the fridge for about 20-30 minutes, or until they’re firm. This chilling time is crucial; it makes the dipping process much smoother.
Dipping in Chocolate
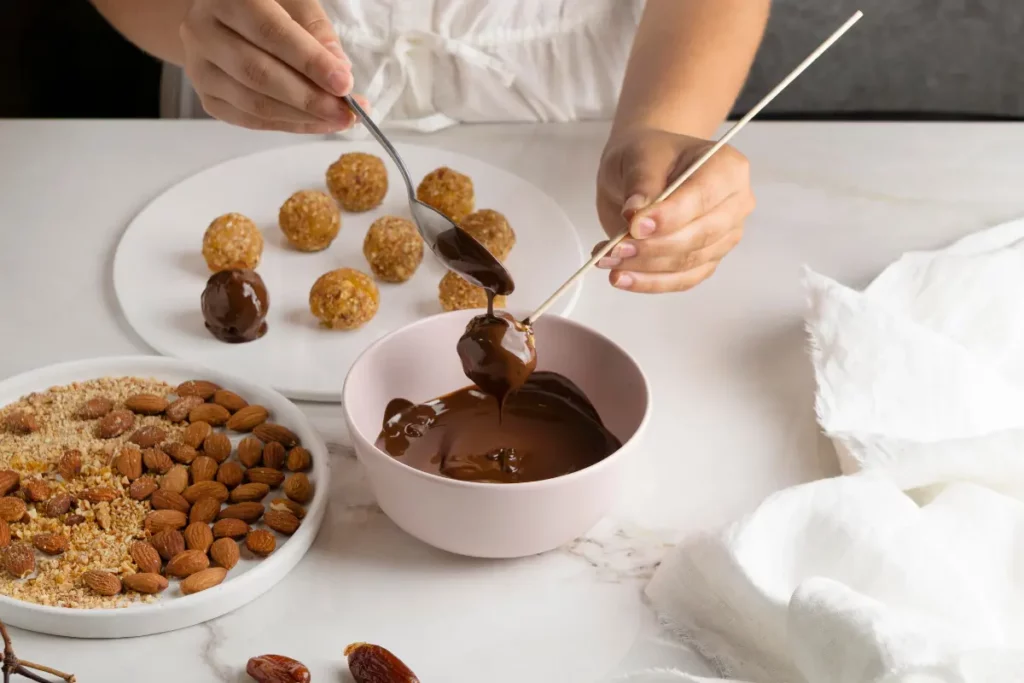
- Melt to Perfection: Melt your chosen chocolate in a microwave-safe bowl or using a double boiler, stirring until it’s silky smooth. If you’re using a microwave, short bursts of 30 seconds, followed by stirring, usually do the trick.
- Dip and Swirl: Using a toothpick or fork, dip each chilled peanut butter ball into the melted chocolate, ensuring it’s evenly coated. Gently tap off any excess chocolate—just enough to leave a thin, even layer.
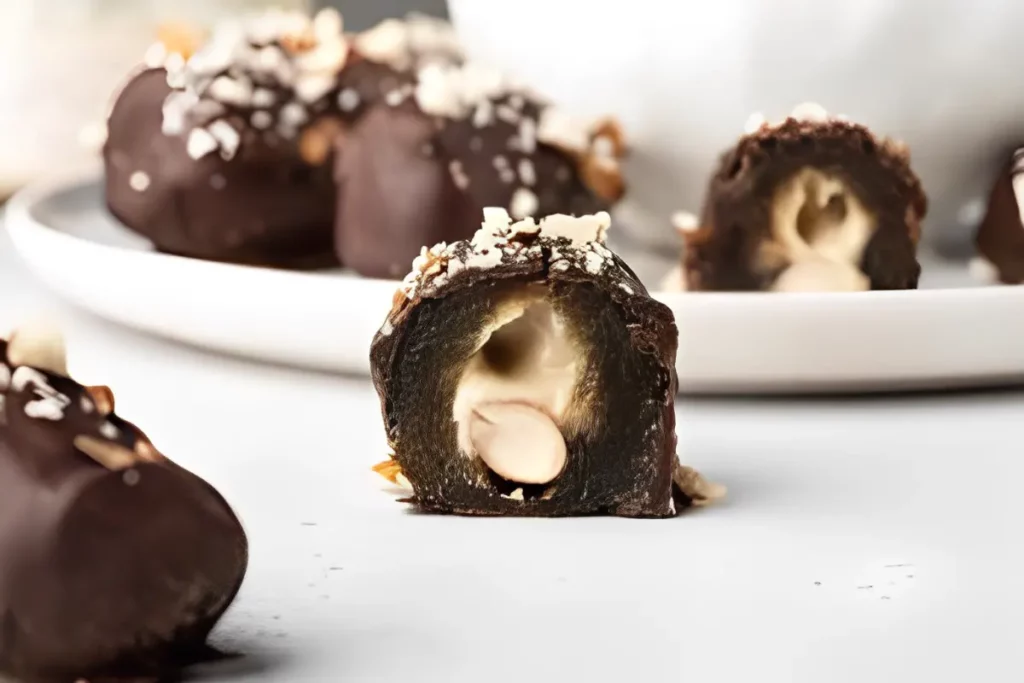
- Set and Forget: Place the chocolate-coated balls back on the parchment paper. If you’re feeling fancy, this is the time to sprinkle them with any decorations like crushed nuts or sea salt. Then, let them set at room temperature or in the fridge until the chocolate hardens.
Voilà! You’ve just made yourself a batch of heavenly peanut butter balls. Whether you’re making these for a special occasion or just because, they’re sure to impress. Remember, the key to perfect peanut butter balls is patience and love. So, take your time, enjoy the process, and get ready to indulge in these bite-sized pieces of bliss.
Variations and Customizations
Now that you’ve mastered the classic peanut butter ball, why not jazz things up a bit? The beauty of this recipe lies in its versatility. With a few tweaks here and there, you can create a myriad of variations that cater to every taste and occasion. Let’s explore some creative ways to customize your peanut butter balls and make them uniquely yours.
Creative Variations to Try
- Chocolate Choices: While milk chocolate is a classic, don’t shy away from experimenting with dark or white chocolate. Each brings a unique flavor profile that can transform your treats.
- Texture Twists: For those who love a bit of crunch, consider adding crushed nuts, rice crisps, or even crushed cookies into the peanut butter mixture. It’s a simple addition that adds a whole new dimension of texture.
- Flavor Infusions: A pinch of sea salt, a sprinkle of cinnamon, or even a dash of chili powder can elevate the flavor of your peanut butter balls. Don’t be afraid to experiment with different spices and extracts to find your perfect match.
Decorating Your Peanut Butter Balls
The final touch to any peanut butter ball is its decoration. This is where you can let your creativity shine and tailor your treats to fit any theme or occasion.
- Sprinkles and Edible Glitter: Perfect for birthdays or holidays, adding colorful sprinkles or edible glitter can make your peanut butter balls festive and fun.
- Drizzled Chocolate: For an elegant finish, drizzle a contrasting color of melted chocolate over your set peanut butter balls. It’s simple yet sophisticated.
- Toppings Galore: Crushed nuts, coconut flakes, or even mini chocolate chips can be pressed onto the freshly dipped peanut butter balls for added texture and flavor.
Remember, the key to a successful variation is balance. You want to enhance the flavors without overwhelming the delicate balance of peanut butter and chocolate. So, start with small adjustments and taste as you go.
By embracing these variations and customizations, you’re not just making peanut butter balls; you’re creating edible art that reflects your personal taste and creativity. Whether you stick to the classic recipe or venture into new flavor territories, the joy of making (and eating) these treats remains the same. So, go ahead, experiment, and most importantly, have fun with it!
Storage and Serving Suggestions
After crafting your delicious peanut butter balls, knowing how to store and serve them properly ensures they remain just as delightful as the moment they were made. Whether you’re saving them for later or presenting them at a gathering, these tips will help keep your treats in tip-top shape.
Best Practices for Storing Peanut Butter Balls
- Refrigeration: For short-term storage, keep your peanut butter balls in an airtight container in the refrigerator. They’ll stay fresh and delicious for up to two weeks. The cool environment helps maintain their firmness and prevents the chocolate from melting.
- Freezing for Long-term Storage: If you’ve made a large batch or want to save some for later, freezing is an excellent option. Place the peanut butter balls on a baking sheet lined with parchment paper and freeze them until solid. Once frozen, transfer them to a freezer-safe bag or container. They can last for up to 3 months. When you’re ready to enjoy, let them thaw in the refrigerator or at room temperature.
Serving Ideas
Presentation is key when it comes to serving your peanut butter balls. Whether it’s for a special occasion or a casual treat, here are some ideas to make your treats stand out:
- Elegant Plating: Arrange your peanut butter balls on a beautiful serving platter or in a decorative bowl. A doily or a piece of elegant fabric under the platter can add an extra touch of sophistication.
- Gift Giving: Packaged in a pretty box or tin, peanut butter balls make a thoughtful and delicious gift. Consider layering them between pieces of parchment paper and tying the package with a ribbon for a personal touch.
- Seasonal Themes: Tailor your decorations and presentation to fit seasonal themes. For example, use red and green sprinkles for Christmas, pastel colors for Easter, or orange and black for Halloween. This adds a festive flair to your treats.
Remember, the way you store and serve your peanut butter balls can enhance the overall experience of enjoying them. By following these tips, you’ll ensure your treats are not only a delight to eat but also a joy to present. So, whether you’re indulging in a midnight snack or sharing them with friends and family, your peanut butter balls are sure to impress.