
DIY Starbucks Santa Claus Strawberry Chimney recipe: A festive holiday drink you can easily recreate at home
Who doesn’t love a sweet treat that’s ridiculously easy to whip up? If you’ve got a sweet tooth and a penchant for simple, no-bake recipes, Easy Cool Whip Candy is about to become your new favorite indulgence. This delightful dessert, a homemade spin on the iconic Three Musketeers candy bar, combines fluffy chocolate mousse-like filling with a crisp chocolate shell. Perfect for holidays, parties, or just a cozy evening treat, it’s versatile, budget-friendly, and requires no fancy tools.
In this article, we’ll walk you through the process step-by-step, explore creative ways to customize this candy, and even answer some FAQs to help you master this recipe. So, grab your apron, and let’s dive into the world of this irresistible treat.
Introduction to Easy Cool Whip Candy
The popularity of Easy Cool Whip Candy lies in its simplicity and the joy it brings. This dessert is not just a treat; it’s an experience—one that pairs a light, fluffy interior with a decadent chocolate coating. It’s reminiscent of those cherished store-bought candy bars, but with a homemade twist that feels extra special.
Why You’ll Love This Recipe
- Super Simple: No special gadgets or skills needed—just a microwave and a baking dish.
- Few Ingredients: With just three primary ingredients, you’re good to go.
- Budget-Friendly: Great for whipping up large batches without breaking the bank.
- Customizable: Make it your own with endless variations.
The best part? You can enjoy this candy as a quick snack, serve it at parties, or wrap it up as thoughtful gifts. Now, let’s dive into why this recipe deserves a spot in your kitchen.
Why Cool Whip Candy is a Must-Try
Not all desserts are created equal, and Easy Cool Whip Candy certainly takes the cake—or should we say the candy? Whether you’re a dessert aficionado or someone looking for an easy win in the kitchen, this recipe delivers every time. Let’s explore why it’s a must-try for anyone with a sweet tooth.
Convenience and Simplicity
When life gets busy, complicated recipes are the last thing you need. With Easy Cool Whip Candy, you can have a decadent treat ready in no time. Since it’s a no-bake dessert, there’s no need to worry about ovens or timers. Just mix, freeze, and coat—it’s that simple!
Think about those days when unexpected guests drop by, or you’re scrambling to prepare treats for a party. This recipe has you covered. You’ll only need a few common kitchen tools, like a microwave-safe bowl and a baking dish, to pull it all together.
Versatility in Flavor and Presentation
One of the coolest things about this candy is how easily it adapts to your preferences. Want a touch of crunch? Toss in some crushed nuts. Craving something festive? Sprinkle on colorful decorations or drizzle with white chocolate. From peppermint for the holidays to caramel for a rich twist, the possibilities are endless.
Plus, these candies look so polished and professional, you’d never guess they were made with just three ingredients. Serve them at a party, and watch as your guests marvel at your “culinary skills.”
Budget-Friendly Delight
In an age where fancy desserts can cost a small fortune, Easy Cool Whip Candy is refreshingly affordable. Using simple ingredients like chocolate chips and Cool Whip, you can whip up dozens of candies without denting your wallet. Whether you’re prepping for a bake sale or need a cost-effective holiday gift, this recipe fits the bill.
Ingredients and Tools: Easy Cool Whip Candy
Before diving into the fun part of making Easy Cool Whip Candy, it’s essential to gather your ingredients and tools. The beauty of this recipe lies in its simplicity—you won’t need a grocery list as long as your arm or specialized equipment. Let’s break it down.
Key Ingredients
Here’s what you’ll need to whip up this sweet treat:
- Milk Chocolate Chips: These are the foundation of the candy’s fluffy filling. Opt for high-quality chips for the best flavor.
- Cool Whip: This whipped topping gives the candy its airy, mousse-like texture. If you’re out of Cool Whip, don’t fret—whipped cream or non-dairy alternatives work too.
- Dark Chocolate: Used for the coating, dark chocolate provides a rich, satisfying shell. You can substitute with milk or white chocolate, depending on your preference.
Optional Extras
- Crushed nuts for texture.
- Festive sprinkles for decoration.
- Peppermint extract or orange zest for flavor variations.
Tools and Equipment
You don’t need a professional kitchen to make this recipe. Here’s what you’ll need:
- Microwave-Safe Bowl: Perfect for melting chocolate without burning it.
- Mixing Spoon or Spatula: For folding the Cool Whip into melted chocolate.
- Baking Pan and Parchment Paper: Ensures easy removal and clean slicing of the candy squares.
- Chocolate Dipping Fork: Makes coating candies in chocolate a breeze.
Recipe Guide: Step-by-Step (Easy Cool Whip Candy)
Now that you’ve got everything ready, it’s time to roll up your sleeves and start crafting your Easy Cool Whip Candy. This process is straightforward and fun, even for beginner bakers. Let’s get started!
Preparing the Chocolate Mousse Filling
- Melt the Milk Chocolate Chips: Place the chips in a microwave-safe bowl. Heat in 30-second intervals, stirring between each, until smooth. Pro tip: Don’t overheat! Melted chocolate can seize if it gets too hot.
- Cool the Chocolate: Let the melted chocolate sit for about 10 minutes. Adding Cool Whip to hot chocolate can ruin the texture.
- Fold in the Cool Whip: Gently mix the Cool Whip into the melted chocolate until it’s fully incorporated. The mixture should resemble a fluffy chocolate mousse.
Freezing and Shaping
- Pour and Freeze: Line a square baking pan with parchment paper. Pour the chocolate mousse mixture into the pan and spread it evenly. Freeze for 30 minutes to set.
- Cut into Squares: Once firm, lift the mixture out of the pan using the parchment paper. Place it on a cutting board and cut it into bite-sized squares. Tip: A sharp knife dipped in hot water makes cleaner cuts.
- Chill Again: Arrange the squares on a parchment-lined baking sheet and freeze for another 30 minutes.
Coating the Candy
- Melt the Dark Chocolate: Use the same microwave technique as before to melt the chocolate for coating.
- Dip the Squares: Using a chocolate dipping fork, coat each square in melted dark chocolate. Let the excess chocolate drip off before placing it back on the parchment paper.
- Decorate (Optional): Sprinkle crushed nuts, festive sprinkles, or drizzle with white chocolate before the coating sets.
Final Chill
Place the coated candies back in the freezer until the chocolate hardens. This step ensures the perfect texture when serving.
Customizations and Variations
One of the joys of making Easy Cool Whip Candy is how easily it can be tailored to suit your taste buds or fit a particular occasion. Whether you’re making treats for a holiday gathering or just experimenting with flavors, the possibilities are endless. Let’s explore some creative ways to customize this candy.
Flavor Enhancements
Want to make your candies pop with extra flavor? Here are a few simple tweaks:
- Peppermint Extract: Add a dash of peppermint to the filling for a festive holiday twist.
- Orange Zest: Mix in a touch of orange zest to brighten up the flavor profile.
- Vanilla or Almond Extract: A classic addition for subtle, aromatic sweetness.
Adding Texture
If you love a bit of crunch in your candy, try incorporating:
- Crushed Nuts: Almonds, pecans, or hazelnuts work beautifully.
- Mini Chocolate Chips: Fold them into the mousse filling for added richness.
- Toasted Coconut: Sprinkle on top or mix into the filling for a tropical vibe.
Alternative Coatings
The traditional dark chocolate shell is divine, but other coatings can add a fun twist:
- White Chocolate: A creamy, sweet contrast to the rich filling.
- Milk Chocolate: For those who prefer a lighter chocolate flavor.
- Colored Melting Wafers: Perfect for themed events like birthdays or holidays.
Presentation Ideas
- Cut the candy into different shapes using cookie cutters.
- Add edible glitter for a touch of glamour.
- Package them in clear bags with ribbons for gifting.
Customizing Easy Cool Whip Candy lets you unleash your creativity, making it a treat as unique as your imagination!
Storage and Serving Tips
Now that your Easy Cool Whip Candy is ready to enjoy, it’s important to know how to store and serve it for maximum freshness and flavor. Follow these simple tips to keep your candy as delightful as the day you made it.
Storage Guidelines
- Freezer Storage: The best way to store these candies is in an airtight container in the freezer. This keeps the chocolate coating firm and prevents the mousse filling from losing its texture.
- Layering Tip: If you’re stacking candies in a container, place parchment paper between layers to prevent them from sticking.
- Shelf Life: These candies can be stored for up to 3 weeks in the freezer, making them a convenient make-ahead dessert.
Serving Suggestions
- Straight from the Freezer: These candies taste best when served cold. Take them out just a few minutes before serving for the ideal texture.
- Pair with Beverages: Serve alongside hot cocoa, coffee, or tea for a cozy treat.
- Perfect for Parties: Arrange on a decorative platter, or create a candy bar with various coatings and toppings.
Gifting Ideas
Easy Cool Whip Candy makes a thoughtful and budget-friendly gift. Here’s how to present it beautifully:
- Wrap individual pieces in foil candy wrappers.
- Arrange them in small gift boxes with a festive bow.
- Add a handwritten note with the recipe for a personal touch.
With proper storage and creative serving ideas, your Easy Cool Whip Candy will be the star of any dessert table or gift exchange!
FAQs About Easy Cool Whip Candy
When trying a new recipe, questions are bound to pop up. Here are some of the most frequently asked questions about Easy Cool Whip Candy, along with practical answers to ensure your candy-making process is a breeze.
How Do I Store Cool Whip Candy for Best Results?
The best way to store Easy Cool Whip Candy is in the freezer. Place the candies in an airtight container with parchment paper between layers. This prevents them from sticking together and keeps the chocolate coating firm. They’ll stay fresh and delicious for up to three weeks.
Can I Use Different Types of Chocolate for the Coating?
Absolutely! While dark chocolate is a classic choice, you can experiment with milk chocolate, white chocolate, or even colorful melting wafers. Just be sure to melt the chocolate properly to avoid burning or seizing.
How Do I Melt Chocolate Without Burning It?
The microwave is your best friend for melting chocolate. Heat in 30-second intervals, stirring each time to distribute the heat evenly. Alternatively, use a double boiler for more control. Pro tip: Avoid letting water touch the chocolate, as it can cause it to seize.
Can I Substitute Cool Whip with Another Ingredient?
Yes, you can use whipped cream (whipped to stiff peaks) or a non-dairy whipped topping as a substitute for Cool Whip. While the texture might differ slightly, the result will still be delicious.
What Are Some Holiday-Specific Variations?
For a festive touch, add peppermint extract or crushed candy canes to the filling. Top the candies with red and green sprinkles or drizzle them with white chocolate for a snowy look. These small additions make the candies perfect for holiday gatherings or gifts.
Conclusion
Making Easy Cool Whip Candy is like unlocking a secret to happiness wrapped in chocolate. This delightful recipe combines simplicity, affordability, and sheer deliciousness, making it perfect for any occasion. Whether you’re crafting these candies for a party, holiday gifts, or just a sweet treat for yourself, you’ll find that they check every box: easy, versatile, and utterly irresistible.
The fluffy chocolate mousse filling paired with the crisp chocolate coating brings a nostalgic charm that’s hard to resist. Plus, with endless ways to customize—different coatings, toppings, and flavor twists—you can truly make this recipe your own.
The best part? You don’t need to be a pro baker or have fancy equipment to nail this recipe. Just grab a few ingredients, follow the steps, and let your creativity shine. So, roll up your sleeves and whip up a batch of these crowd-pleasers. Your sweet tooth will thank you, and so will anyone lucky enough to share them with you.
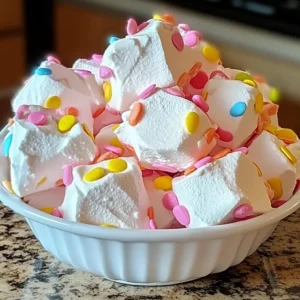
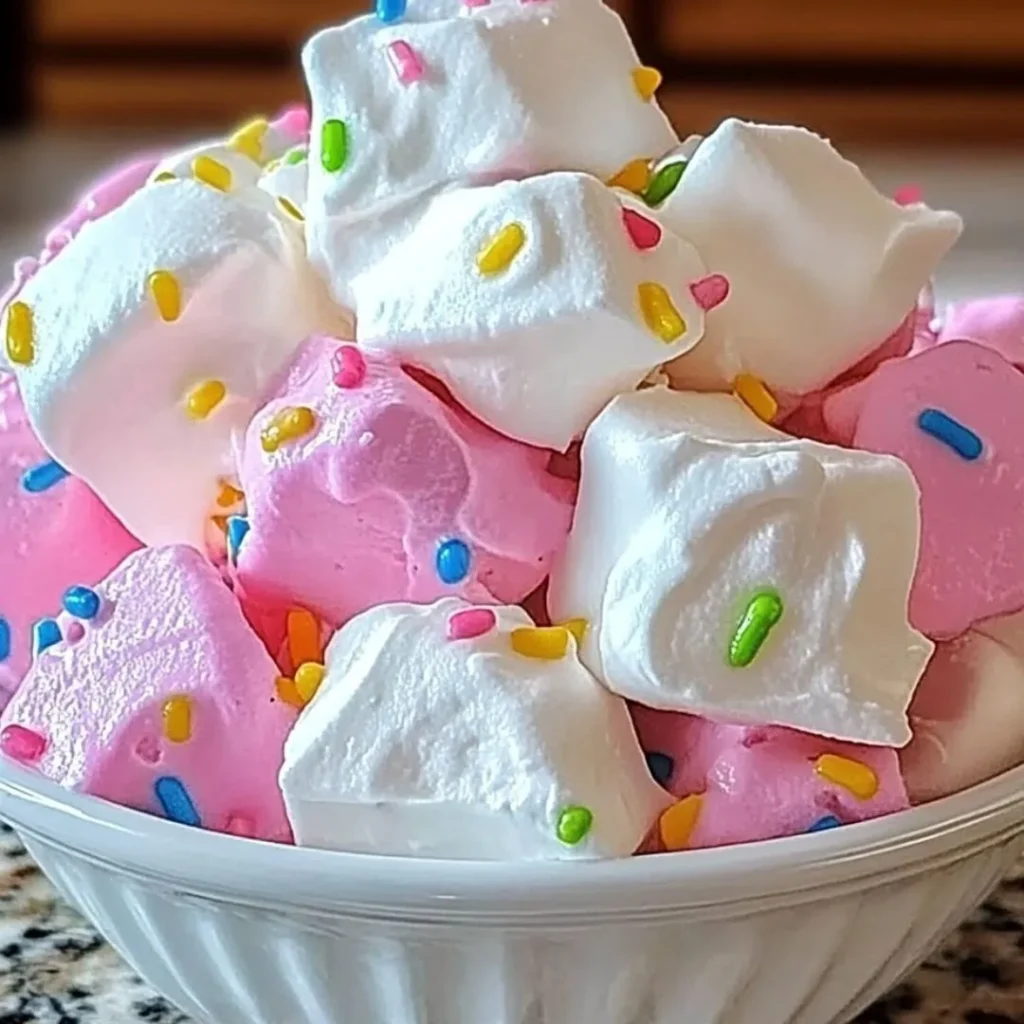
Easy Cool Whip Candy
Equipment
- Large bow
- Mixing spoon
- Wax paper
- Small scoop or spoon
Ingredients
- 8 oz 8 oz package Cool Whip, thawed
- 1 box powdered sugar about 4 cups
- 1 teaspoon vanilla extract
- Food coloring optional
- Colorful sprinkles for decorating
Instructions
- Prepare workspace: Line a baking sheet or large plate with wax paper.
- Mix Cool Whip: In a large bowl, combine the thawed Cool Whip, powdered sugar, and vanilla extract. If desired, add a few drops of food coloring and mix until well combined.
- Shape candies: Using a small scoop or spoon, drop rounded mounds of the Cool Whip mixture onto the prepared wax paper.
- Decorate: Immediately sprinkle the candies with colorful sprinkles.
- Chill: Place the baking sheet in the refrigerator for at least 2 hours, or until the candies are firm.
- Serve: Once chilled, the candies are ready to be enjoyed! Store them in an airtight container in the refrigerator.
Notes
- If you don’t have a small scoop, you can use a spoon to drop the mixture onto the wax paper.
- You can use any type of food coloring you like.
- If the candies are too sticky, add more powdered sugar.
- For a fun twist, you can add other ingredients to the Cool Whip mixture, such as chopped nuts, chocolate chips, or fruit.